You have the first step: you want to switch to clean energy and reduce your dependence on your electricity supplier.
What is not yet clear to you is what the process of the photovoltaic installation would be like. The paperwork, times, previous steps to consider and what are the phases of the process for a correct operation.
Today we are going to talk about how to install solar panels on your house step by step, stages prior to the installation and commissioning of the photovoltaic system.
Before starting with the installation of solar panels
1. Installation proposal
If you still don’t know how much money you can save each month with solar energy, try our self-consumption calculator.
2. Roof study
And another important piece of information: shading. This is a factor that will also have an impact on the viability of the photovoltaic system, selecting the installation that allows you to obtain maximum performance without forgetting your consumption habits.
3. Submission of paperwork and licences
Keep this in mind: solar panels cannot be installed without permits.
But before we move on to the next point, you can count on subsidies for photovoltaic self-consumption and subsidies for solar panels that are specific to each region.
Here is the list of subsidies according to the province of Catalonia where you live:
- Solar panels in Girona
- Solar panels in Tarragona
- Self-consumption in Barcelona
- Installation of solar panels in Lleida
Finally, once these preliminary steps have been completed, the installation of the solar panels begins.
That said, what is the process for installing solar panels?
Phase 1: Assembling the structure of the photovoltaic system
What is the first one?
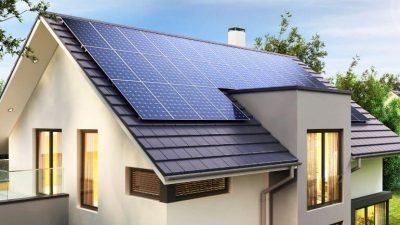
The brackets to support the roof. Factors such as the typology or inclination of the house will determine which structure to use.
We have to know that the structure will not be the same for modules placed on the same plane as for a flat roof where it will be necessary to tilt the solar panels if we want to obtain maximum performance from the installation and, of course, avoid the sail effect.
Phase 2: Fixing the roof and installing the solar panels
What is the most common? A pitched roof with arabic tiles, but there are other cases such as flat roofs that are covered with asphalt fabric. This slope is between 20º and 35º in Spain.
The anchoring used in the structure will depend on the roof to which it will be anchored.
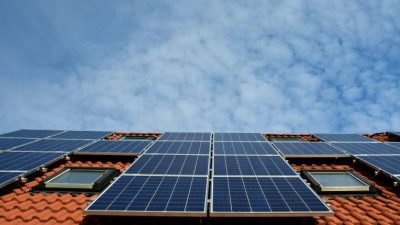
Next, we proceed to place the photovoltaic panels and the interconnection between them.
Phase 3: connecting the panels to each other and to the inverter.
It is also important to fit the connectors correctly, as a poorly made connection will have a negative effect on the system. This means a lower performance of the installation, even causing problems in the structure itself. Therefore, this must be essential.
This connection between panels allows the electrical generation of the system to be directed to a centralised point: the inverter.
Phase 4: Connecting the inverter to the electrical panel
This inverter must be connected to the electrical panel so that the installation is complete and the energy can be consumed.
It is also vital to keep it away from sunlight because overheating has a negative effect on performance. Similarly, it is important not to place the inverter to the south and to opt for the inside of the house if possible. If this is not the case, get protective equipment so that lightning does not affect the system.
Phase 5: connect the batteries (if necessary)
The operation of this inverter is very simple. When the battery is at a low level of charge, it will draw power from the external grid.
Don’t forget that this is a more expensive system, but it will give you more freedom.
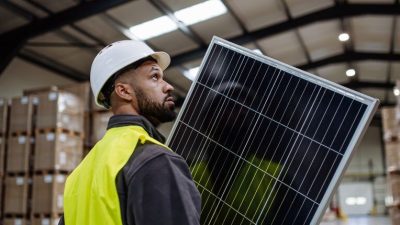
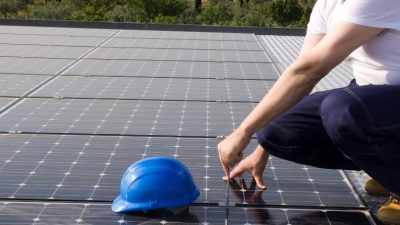
It is important to take into account the electrical and safety regulations and to have protective equipment for the installation personnel, such as clothing, footwear and other accessories that minimise the risks associated with the installation.
Opt for professionals in photovoltaic self-consumption
Therefore, we will summarize the process of an installation from SolarMente:
- Planning: once we know how much you can save with our solar calculator, we will assign you a solar coach to explain how we work and what are the benefits of going solar.
- Customisation: We will analyse your roof and optimise the installation for your needs. The signed quotation will not change in the future. Everything is included, with no additional costs involved.
- Installation: our installer will come to your home, set up the system as mentioned above and in no time you will be consuming your own sustainable energy.

